Using GODIAG ECU GPT Boot Adapter and SM2 Pro with pcmflash software to read and write Bosch EDC17CP11 TC1796 ECU, works perfectly.
Bosch_EDC17CP11_XROM_DTC1796_EGPT_JLR Pinout diagram
PIN 3, 15 = +12V (Red)
PIN 6 = GND (White)
PIN 41= GPT1 (Yellow)
PIN 44 =GPT 2 (Orange)
PIN 53 = CAN L (Green)
PIN 40 = CAN H (Black)
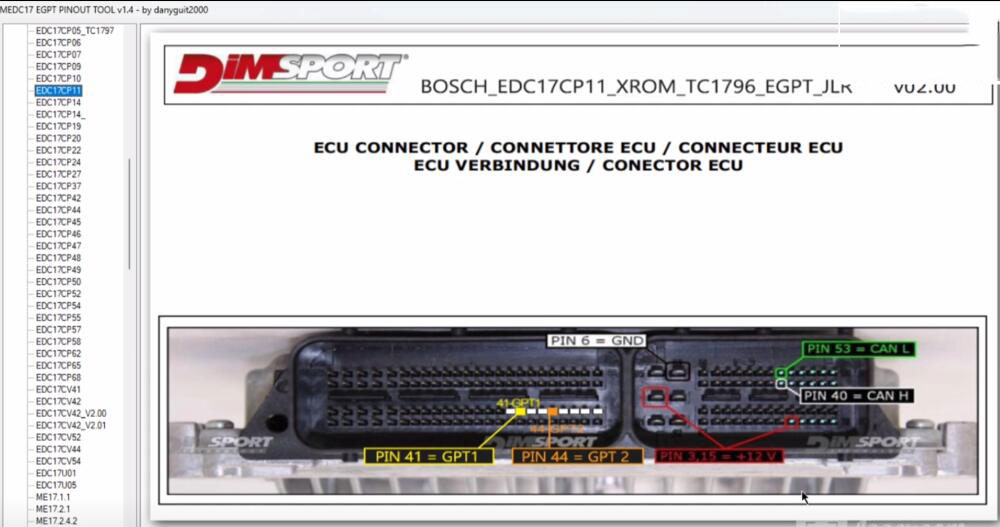
Follow the diagram to connect GODIAG ECU GPT Boot AD ECU Connector and Bosch ECU
Then connect to SM2 Pro ECU programmer
Run pcmflash V1.2.0 software
Select [71] Bosch: MEDC17 (TC1762/1766/1792) EEPROM
Select automatic power control (L-line) to identify ECU and read EEPROM data
Save the original EEPROM data after reading
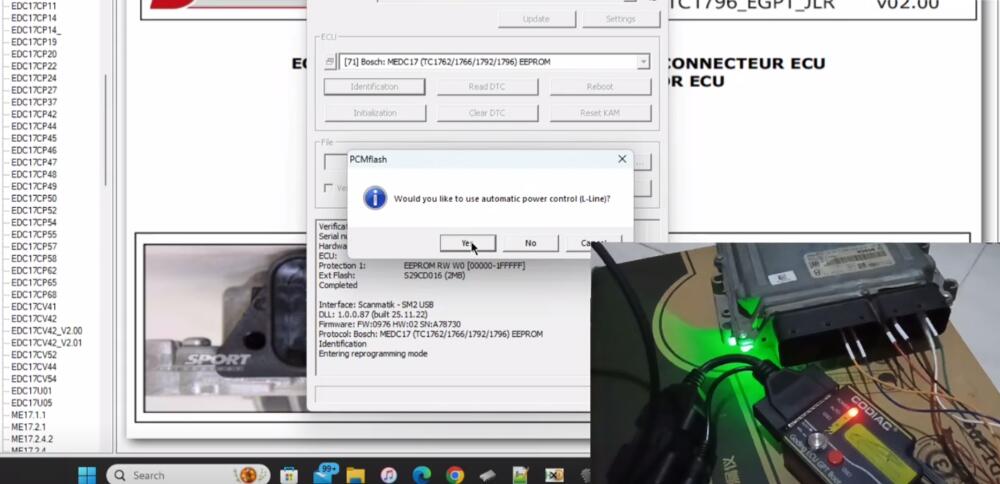
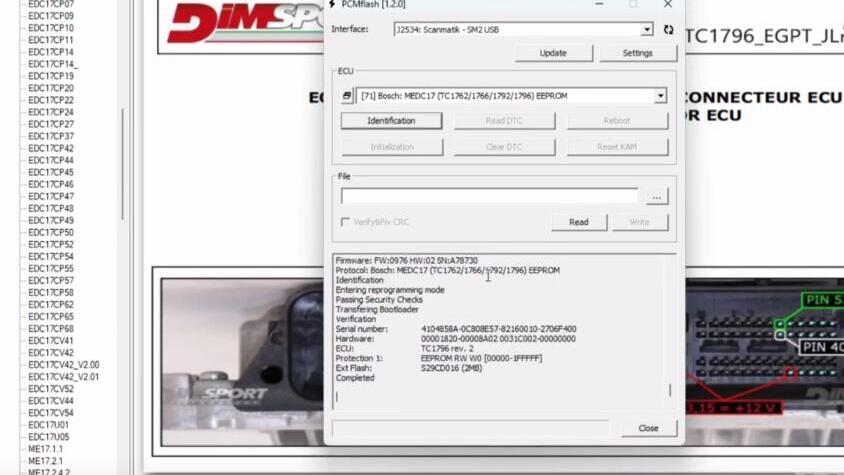
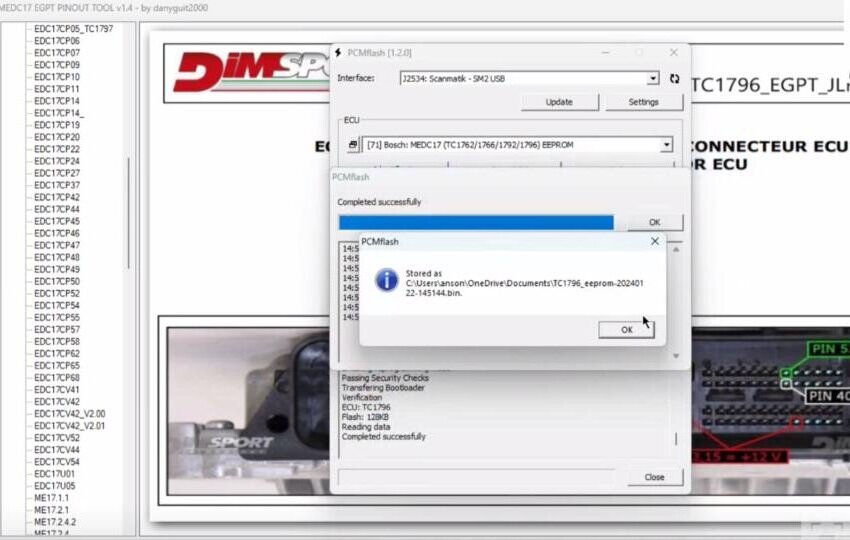
Select [71] Bosch: MEDC17 (TC1762/1766/1792) FLASH
Select automatic power control (L-line) to identify ECU and read FLASH data as well
Save the original Flash data after reading
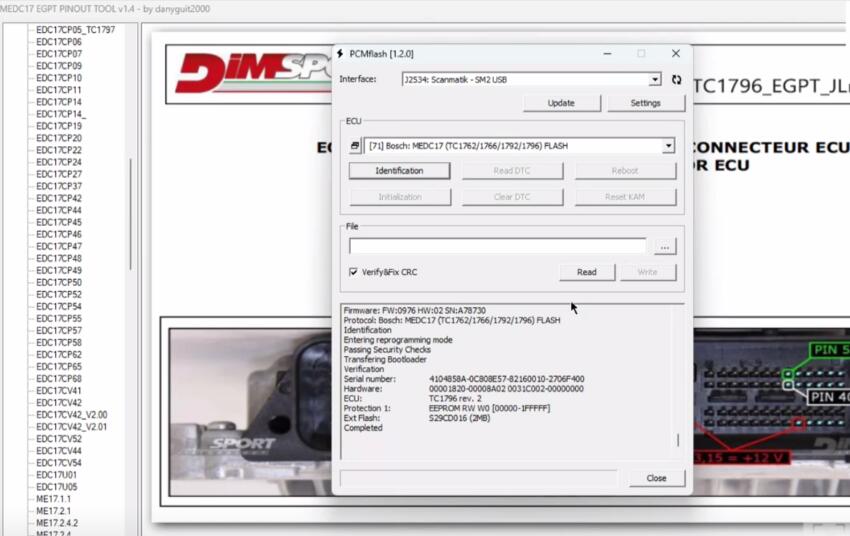
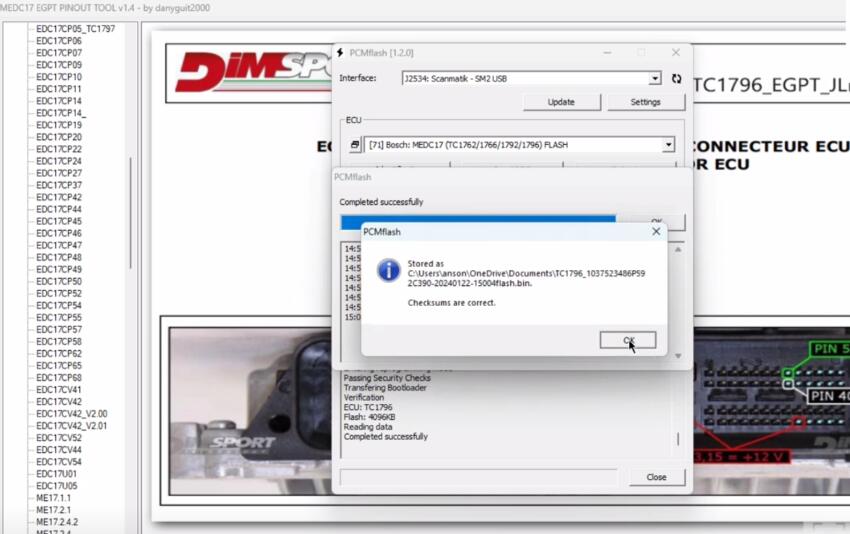
Connect to a new EDC17CP11 TC1796 ECU
Run pcmflash V1.2.0 software again
Select the original EEPROM data
Identify the ECU and write the data into the new ECU by selecting “Automatic power control (L-Line switch) and use write optimizations”
Verify and write data successfully
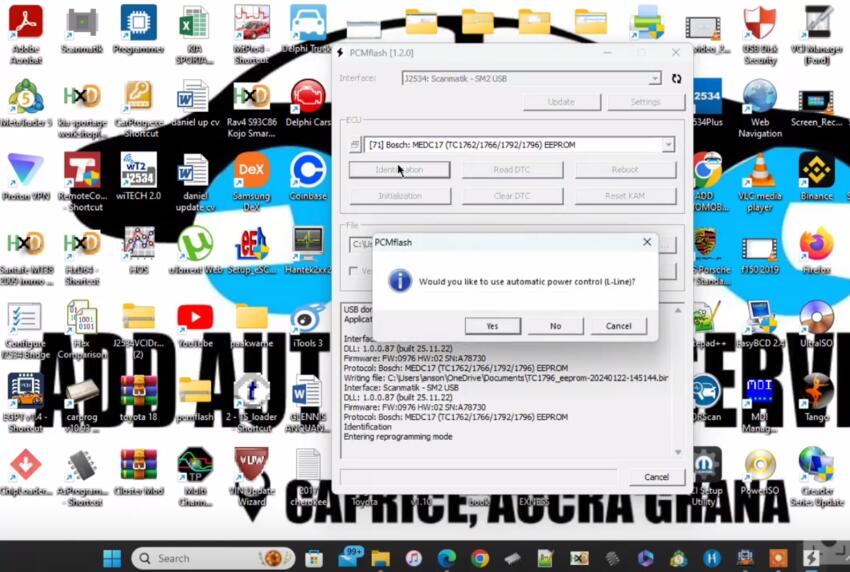
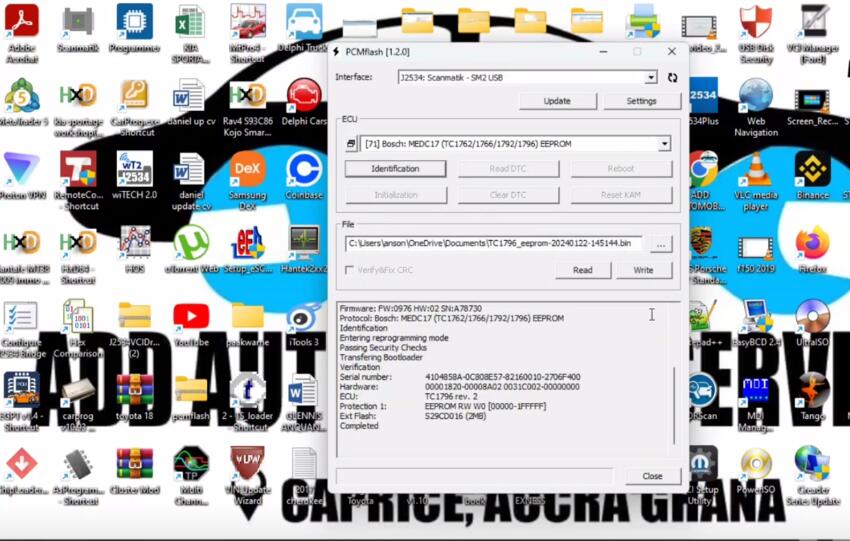
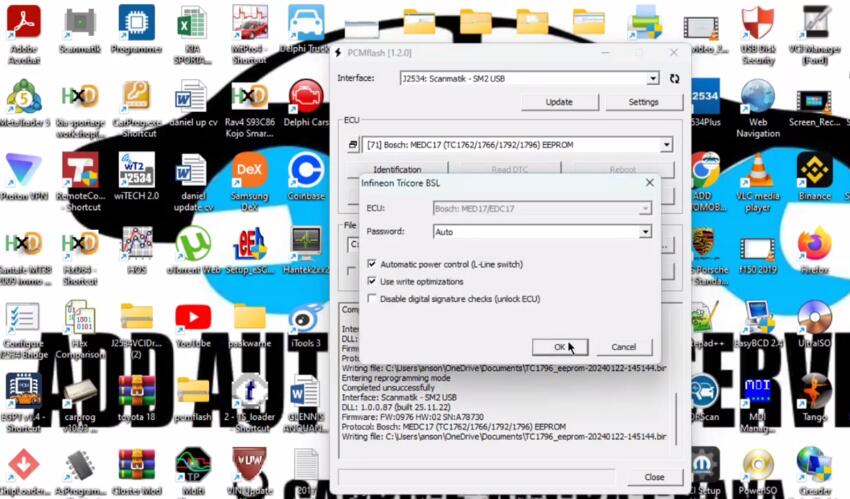
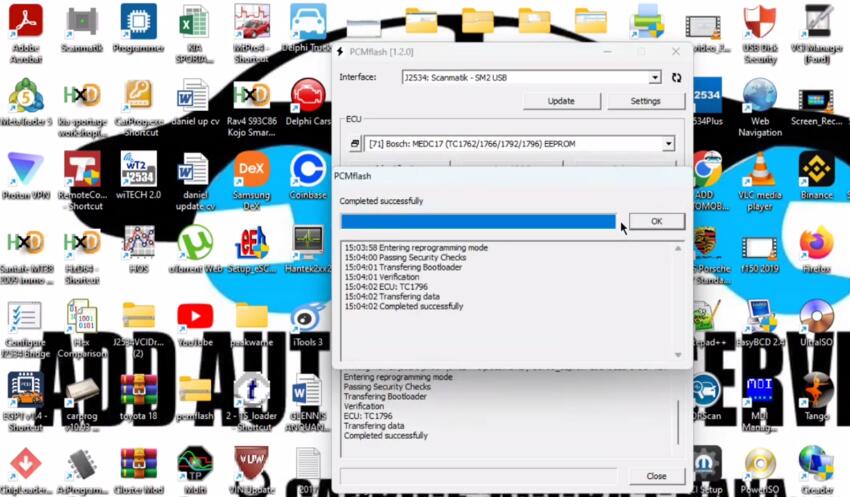
Alright! GODIAG ECU GPT Boot AD and SM2 Pro read and write Bosch EDC17CP11 TC1796 ECU successfully.


